Reloading an Echoplex Tape Cartridge
Method 2
Reloading a jammed cartridge
Page 1, building the jig
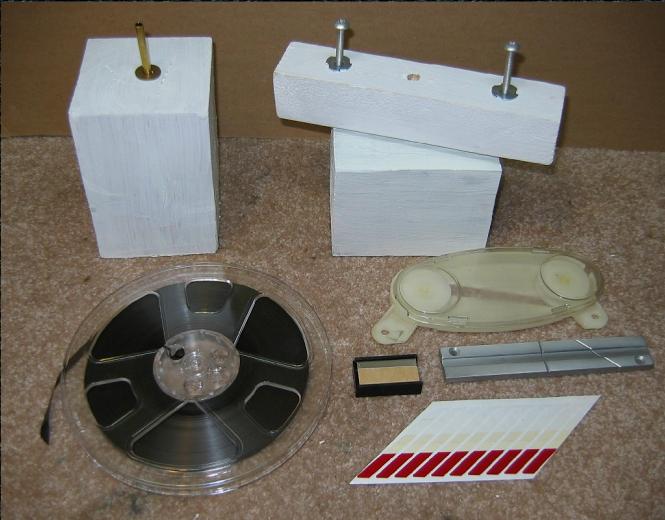
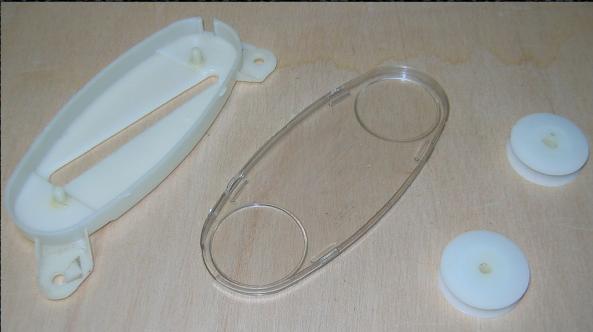
Here are the supplies needed.
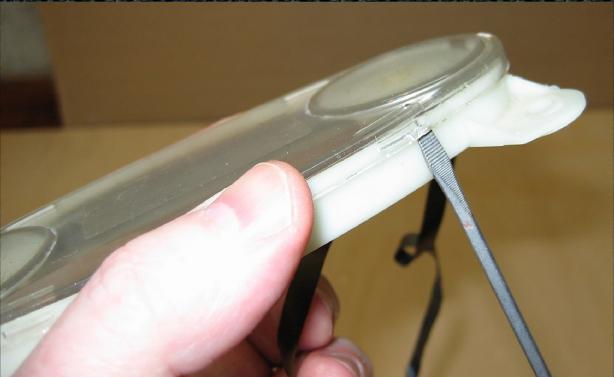
The first thing you need to do is pry the cartridge apart. Use a flat screwdriver or other thin but stiff tool. Be VERY careful when doing so, it's easy to break the tabs that hold it together. The plastic in the cartridge is very stiff.
Carefully slip the screwdriver underneath the tab and slowly pry it off. Once you get one loose the others will be easier. I've never broken a tab but have disfigured one or two. I got this cartridge from a seller on Ebay and someone has pried it apart before, damaging some of the tabs. It looks like it holds together fine when reassembled though.
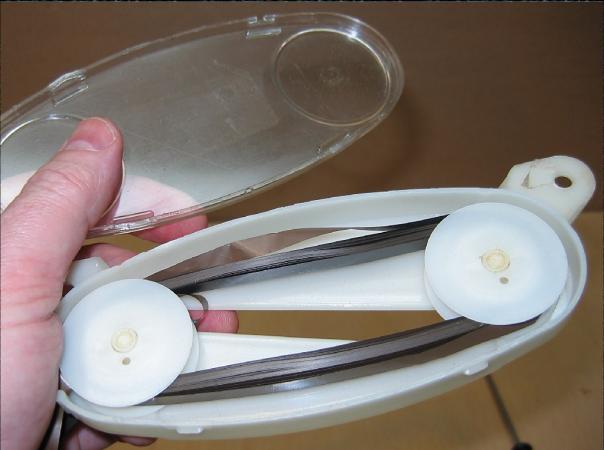
Once you have the cartridge apart remove the rollers inside and extricate any old tape. When you pull the rollers out the tape should slip off freely. Once free of tape clean the rollers and both halves of the cartridge with isopropyl alcohol and let dry.
Next you have to construct your jig.
What you need:
- One piece of wood 2x2x6
- One piece of wood 4x4x4
- One piece of wood 4x4x5
- Two 10-32 x1 1/2 and one 10-32 x 3 bolts.
- Two tee nuts and two regular nuts to fit the bolts.
- One small washer.
- One large washer.
- Some brass tubing in which the bolts fit snugly but move freely.
Building the jig:
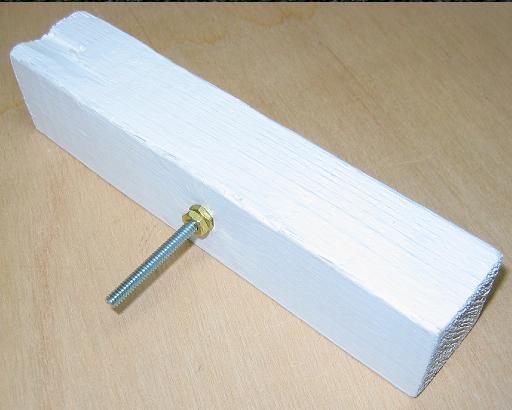
- Drill a hole the diameter of the bolt through the lengthwise center of the 1x1 and countersink it. Make sure the hole is 90 degrees to the wood. Insert the three inch bolt and secure it with a nut, then add another nut to lock it all in place. The head of the bolt should be below the surface of the wood. This is your spindle.
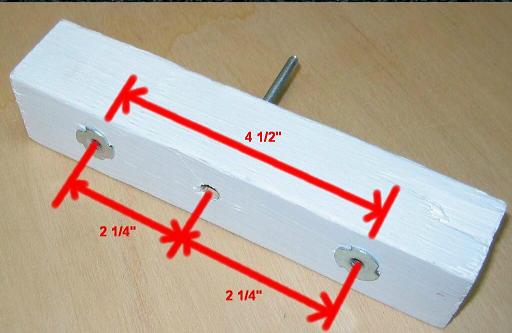
- Drill two more holes in the spindle for the tee nuts exactly 4 1/2 inches apart, 2 1/4 inches on either side of the bolt hole and install the tee nuts.
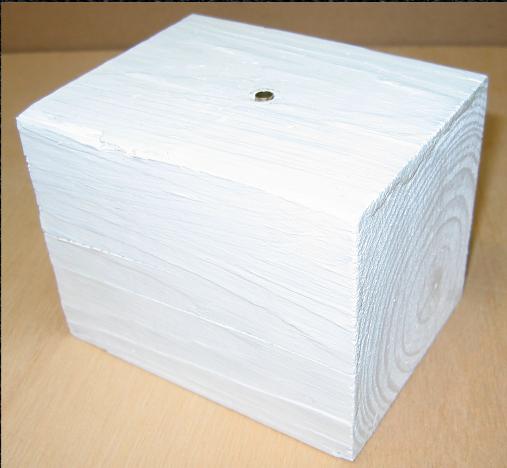
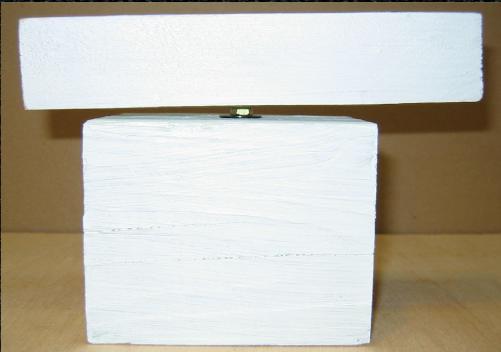
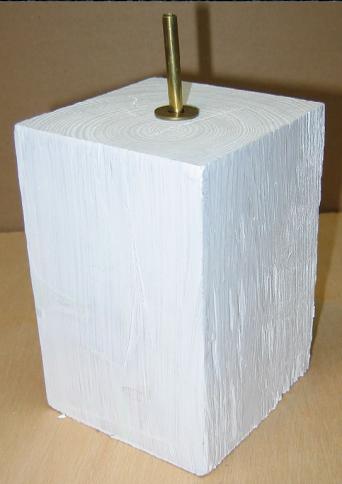
- Now drill a hole about 2 inches deep into the center of the smaller 4x4 the size of the outside diameter of the tubing. Cut and insert a piece of brass tubing into the hole, flush with the surface. It should be very snug, and a dab of glue wouldn't hurt to keep it in place. This is your spindle mount. Slip the smaller washer over the bolt extending from the spindle and insert the bolt into the tubing you just installed. The spindle should turn freely.
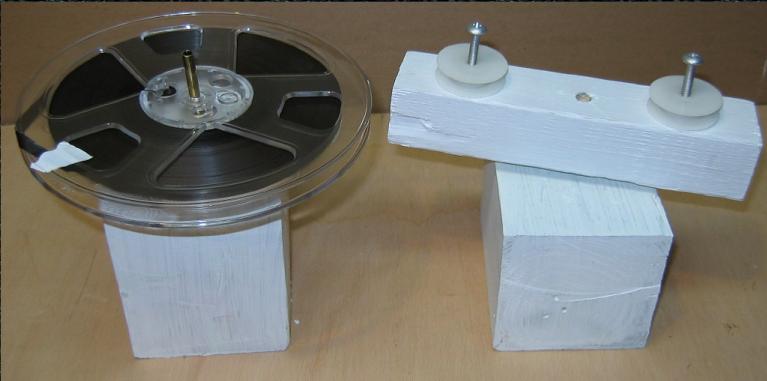
Next, drill a similar hole into the top of the larger 4x4. Cut another piece of tubing and insert it into the hole, this time it should extend out about an inch or so. Drop the larger washer over it to act as a bearing. This is your feed tape reel mount. Drop the reel of tape over the tubing and you're ready to proceed. If you are using an 8 track tape or a Fidelipac tape cartridge to load from instead of the reel tape just drill a couple of small holes a couple of inches apart at the edge of the 4x4 and slip a couple of nails in them to hold the cartridge in place while you load. You could use the same piece of wood and make it so the tubing and nails are removable to accomodate whatever type of tape feed you are using. If the spindle and the feed reel don't line up vertically, add washers to get them to do so.
Prying off the first tab.
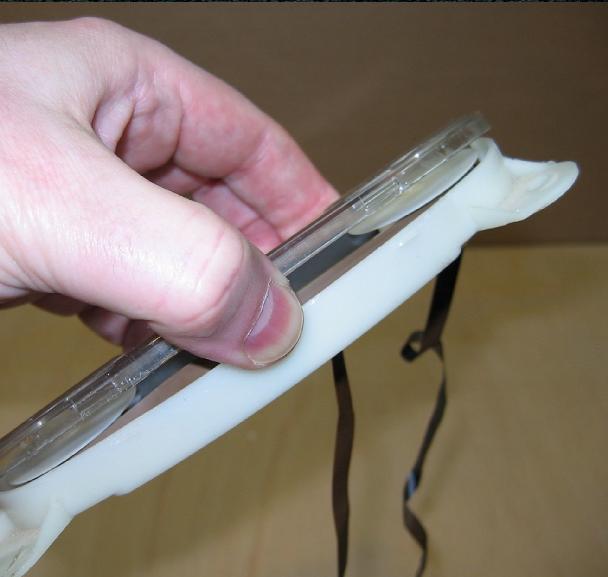
Once again:
Take your time and be careful not to break the tab!
Open for business. The rollers will drop right out and the tape will come off easily.
Cleaned and ready to reload!
Bottom of the spindle showing the axle bolt secured by two nuts. Don't forget the small washer used for a bearing.
The top of the spindle showing the T-nuts that the rollers will be mounted on, and measurements.
The spindle mount with the hole drilled and tubing inserted.
The spindle and the spindle mount.
Note the washer used as a bearing.
The feed reel tape mount with the tubing used for an axle and the washer used for a bearing.
All set and ready to load!!
