Reloading an Echoplex Tape Cartridge
Method 1
Reloading a working cartridge
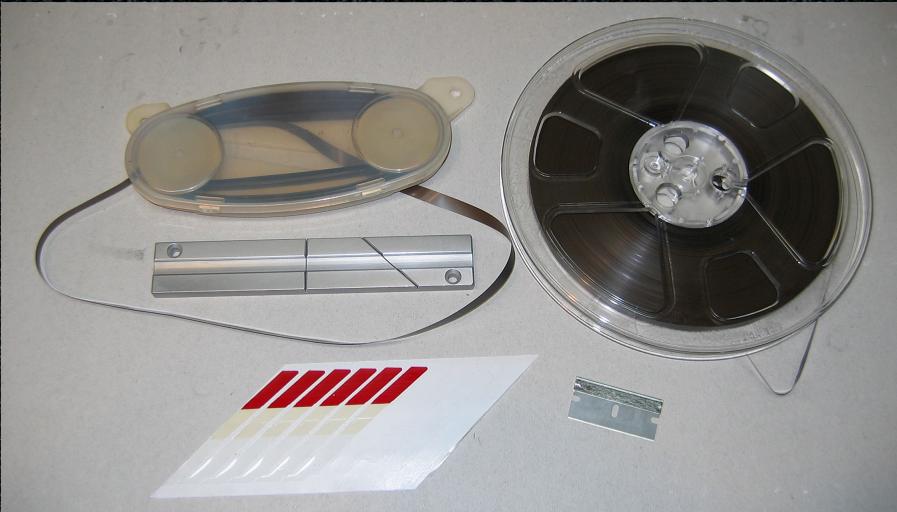
Here are the supplies needed.
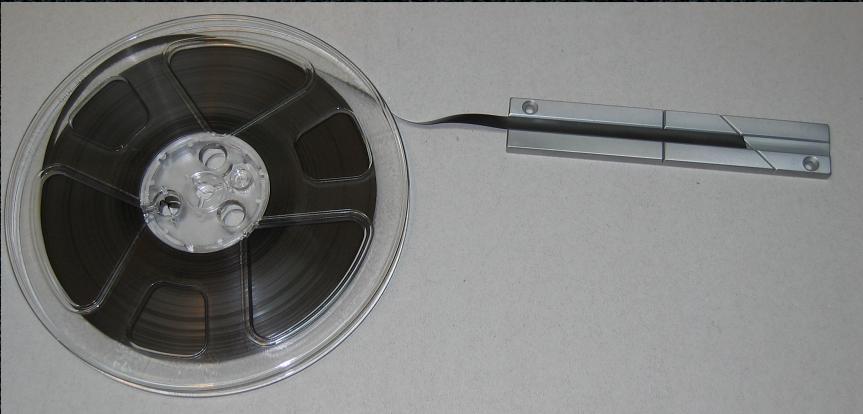
Insert the new tape into the splicing block, extending past the cutting channel. The block will hold the tape in place.
Make sure you insert the tape record side down, backing side up. This is very inportant. The splicing tape must go on the back of the recording tape!
Pull a good bit of the tape out of the cartridge, and slit it near the old splice.
BE VERY CAREFUL NOT TO LET THE TAPE PULL BACK INSIDE THE CARTRIDGE, OTHERWISE YOU'LL HAVE TO USE METHOD TWO TO RELOAD THE CART!!!
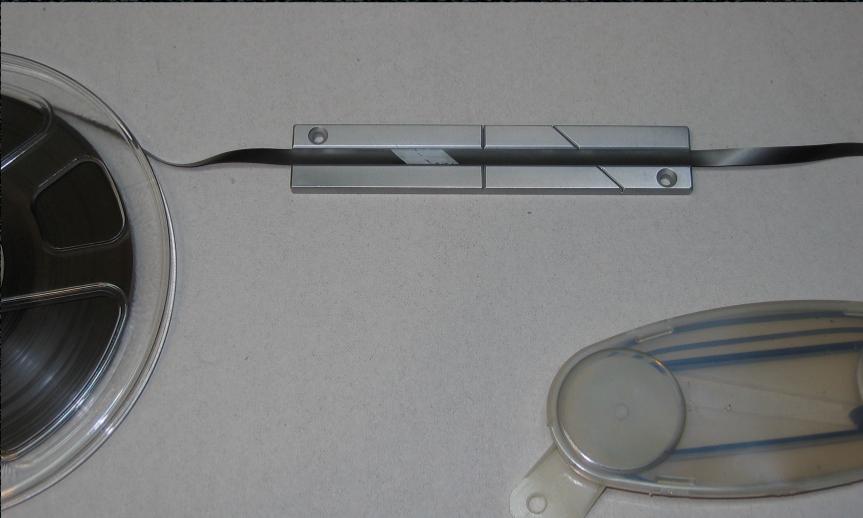
Using the tape lead coming from the left side of the cartridge, insert the tape into the splicing block, on top of the new tape and extended past the cutting channel. I've left the old splice in here to show how the tape from the cartridge is overlayed on top of the tape from the reel.
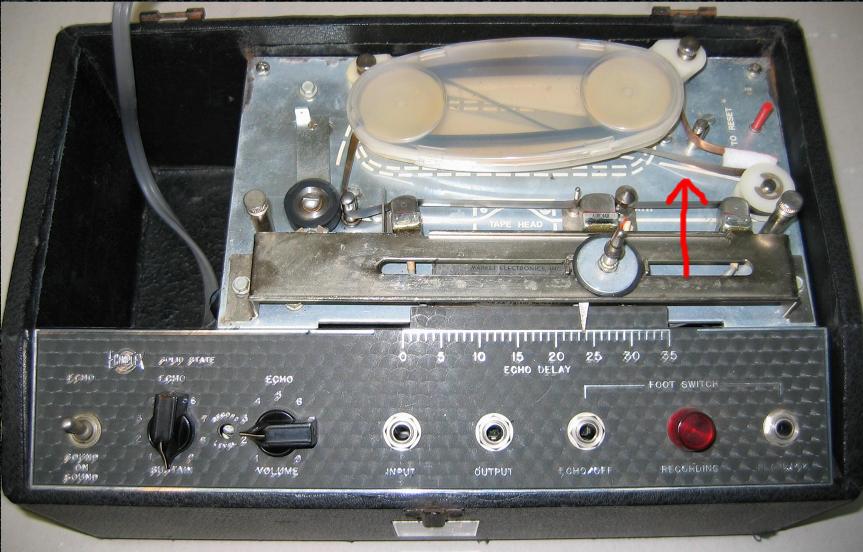
The first thing to do is find the splice. Turn your Plex on and watch the area indicated by the arrow in the picture above. Keep your hand on the power switch. When you see the splice, quickly power the unit off. Carefully remove the cartridge from the Echoplex and pull some tape out for some slack to work with. The splice must remain outside the cartridge.
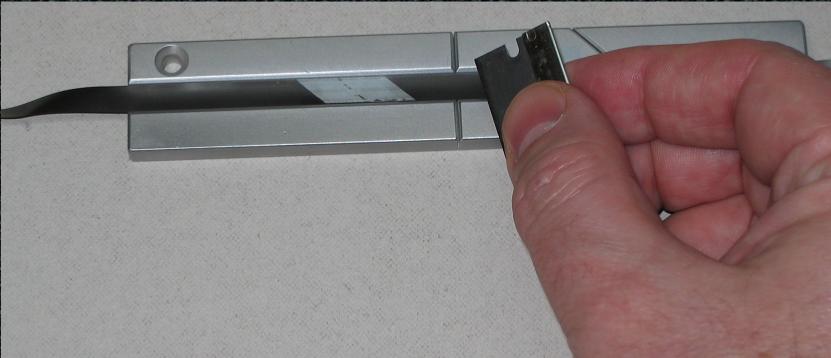
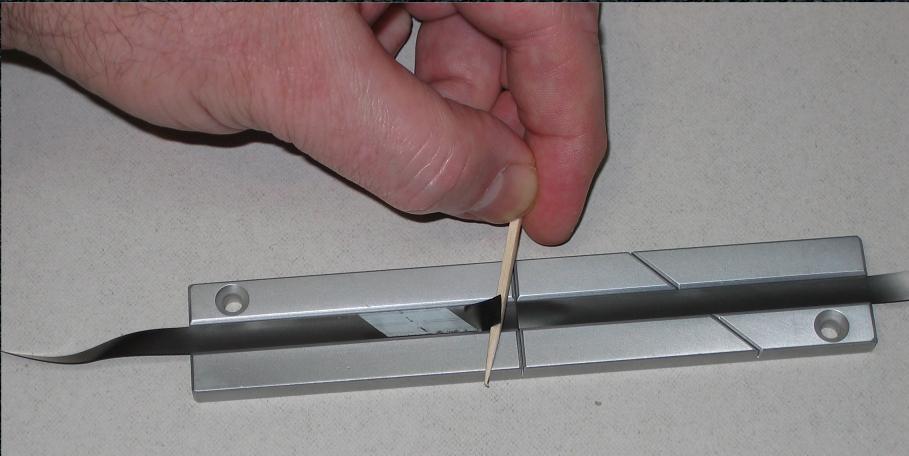
Carefully slice through both layers of tape. The block has internal edges that will hold everything in place.
Use a toothpick or other benign tool to pry up and remove the excess tape from the cut.
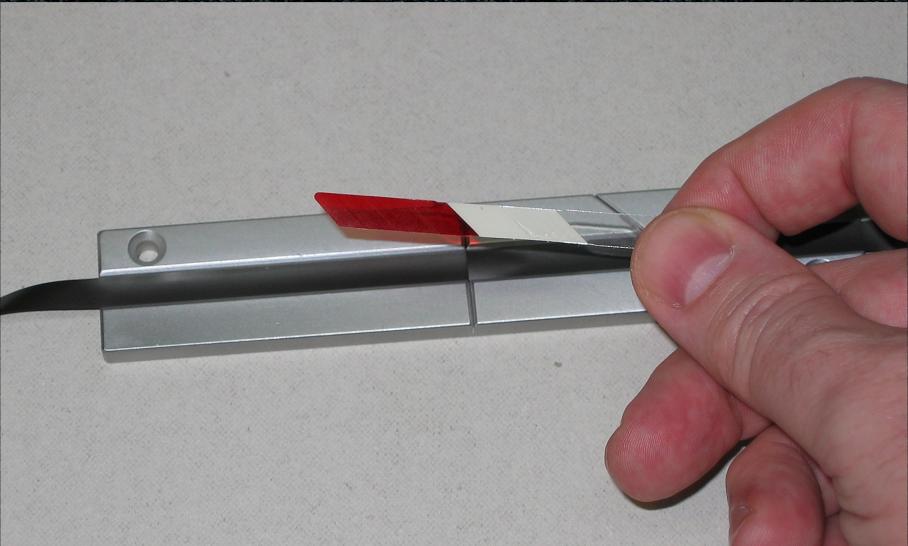
You can use splicing tape that comes in a roll but it's a lot easier to use the pre-cut tabs with the pull away backing. Carefully press the splicing tab evenly over the cut and apply mild pressure to make it stick.
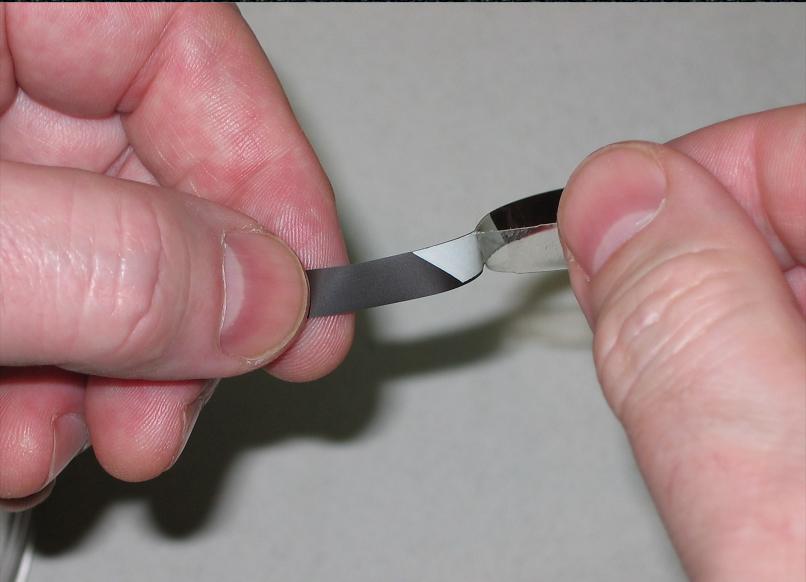
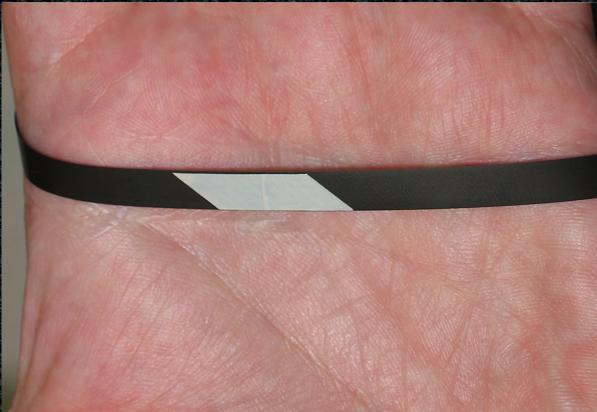
Gently pull the newly spliced tape free from the block and peel the backing away by the clear end.
